Spring Cleaning: Your Guide to a Clean Garage

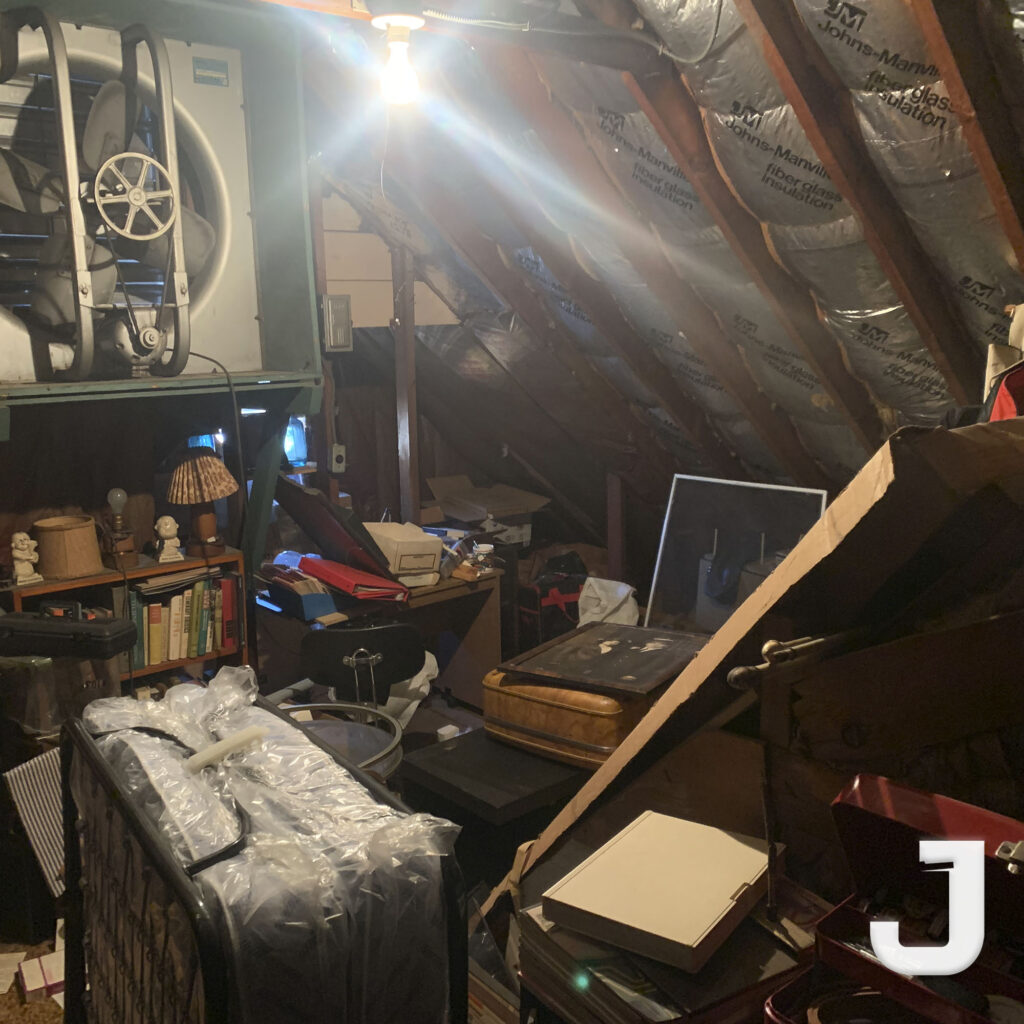
If your garage is anything like ours, it’s a catch-all for everything that doesn’t have a home in the house. Over time, it can become cluttered and crammed, making it difficult to find what you need when you need it. Spring is the perfect time to give your garage a good cleaning and organizing so you can make the most of this valuable space.

Here are some tips to help you get started to a Clean Garage:

  1. Make a plan. Before you start moving things around, it’s helpful to have a plan for how you want to organize your garage. Decide what you want to keep, what you can donate or sell, and what needs to be thrown away. This will make the process go much smoother.
  2. Sort and purge. Once you know what you want to keep, it’s time to start sorting. Create piles for different categories of items, such as sports equipment, gardening supplies, holiday decorations, etc. As you sort, be sure to purge anything that is broken, no longer needed, or taking up too much space.
  3. Clean and declutter. Now that you have everything sorted, it’s time to start cleaning. Wash down all the surfaces, sweep the floor, and dust the shelves. Then, declutter by getting rid of anything that doesn’t belong in the garage, such as old newspapers and magazines.
  4. Organize. Now it’s time to start putting everything back in the garage. But before you do, take a few minutes to organize everything so it’s easy to find and use. Use shelves, bins, and hooks to keep everything in its place.
  5. Maintain. Once you’ve got your repository all cleaned and organized, it’s important to maintain it so it doesn’t get cluttered again. Make it a habit to put things back in their place after using them. And, every few months, take some time to do a quick declutter and cleaning.

By following these tips, you can have a clean and organized garage that will make your life easier. So what are you waiting for? Spring is the perfect time to start cleaning out your garage! Looking to get your garage cleaned out quickly call 973-336-8083 JunkDoctorsNJ

From cluttered to clean: My basement cleanout journey

If you’re anything like me, your basement is probably cluttered with a bunch of stuff that you don’t need or use anymore. But don’t worry, I’m here to help! I recently went through my own basement cleanout journey and I’m here to share what I learned.

First, start by making a plan. What do you want to keep and what do you want to get rid of? This will help you focus your efforts and make the process a lot easier.

Next, start sorting through everything. I like to do this by category, so I can easily see what I have a lot of and what I need to get rid of.

Once you’ve sorted everything, it’s time to start cleaning out your basement. Begin by getting rid of anything that you don’t need or use anymore. This includes old clothes, toys, furniture, etc. If you’re not sure what to do with something, call JunkDoctorsNJ, donate it or throw it away.

Finally, once you’ve gotten rid of all the junk, take a moment to clean and organize everything that’s left. This will help you keep your basement clean and clutter-free in the future.

And that’s it! These simple steps will help you get your basement clean and organized in no time. So what are you waiting for? Start your own basement cleanout journey today!

basement cleanout

How to Clean Out a House After the Death of a Loved One

It’s never easy to lose a loved one. But when the time comes, you may find yourself tasked with the daunting task of cleaning out their house. This can be an emotionally trying time, made even more difficult by the physical labor involved. But with a little planning and some help from friends and family, you can get through it.

Here are some tips on how to clean out a house after the death of a loved one:

  1. Give yourself time

Don’t try to rush through the process. It will take time to go through everything and you will need to be patient. Give yourself permission to take breaks when you need them.

  1. Make a plan

Before you start, it can be helpful to make a plan. Decide what you want to keep, what you want to sell, and what you want to donate or throw away. This will make the process less overwhelming.

  1. Get help Ask friends or family members to help you. It will make the process go faster and it can be nice to have some company during such a difficult time.
  2. Start with the easy stuff

Don’t try to tackle everything at once. Start with the easy stuff, like clothes and books, and then move on to the more difficult items, like furniture and keepsakes.

  1. Be prepared for emotions

Cleaning out a house can be an emotionally tough task. Be prepared for memories to come flooding back and for tears to be shed. It’s okay to take your time and to grieve.

  1. Take your time

This is not a race. There is no need to hurry. Go at your own pace and take as much time as you need.

  1. Don’t be afraid to ask for help

If you need help, don’t be afraid to ask for it. There are plenty of people who are willing to help, whether it’s with the physical labor or just providing emotional support.

Cleaning out a house after the death of a loved one can be a difficult and emotional task. But with a little planning and some help from friends and family, you can get through it. If you need a quick professional help call JunkDoctorsNJ 973-336-8083

Carpet Removal: The Easy Way!

Carpet removal might seem like a daunting task, but with a little planning and the right tools, it can be easily accomplished. Here are a few tips to help make carpet removal a breeze:

  1. Make sure you have the right tools. You’ll need a utility knife, a carpet stretcher, a power drill, and a heavy duty vacuum.
  2. Start by removing all the furniture from the room. This will give you plenty of space to work and will make the job go much faster.
  3. Use the utility knife to cut the carpet into manageable pieces. You’ll want to cut along the seams and around any obstacles like furniture legs.
  4. Once the carpet is cut into pieces, use the carpet stretcher to loosen it from the floor. Insert the blades of the stretcher under the carpet and push down to release the adhesive.
  5. Vacuum up any loose carpet fibers and debris. Be sure to get all the way to the edges of the room so you don’t leave anything behind.
  6. Drill a hole in the center of each carpet piece. This will make it easier to fold and transport.
  7. Finally, fold up the carpet pieces and load them into a vehicle for disposal.

That’s it! With a little effort, you can easily remove carpet from any room in your home. If you need help, JunkDoctorsNJ is always here to lend a hand. Give us a call today and we’ll take care of everything for you.

Carpet Removal

The complete guide to sheds: Why, when, and how to demolish them

Sheds have been around for centuries, used for everything from storage to housing livestock. But when it comes time to demolish them, there are a few things you need to know. Here is the complete guide to sheds: why, when, and how to demolish them.

Sheds are often built with wood, which can rot and become structurally unsound over time. If you have a shed that is in disrepair, it is important to demolish it before it collapses and injures someone.

Another reason to demolish a shed is if you are planning to build a new one in its place. Demolishing the old shed will make room for the new one and help you avoid any potential problems with the foundation or structure of the new shed.

If you have decided that it is time to demolish your shed, there are a few things you need to do to prepare. First, you need to remove all of the contents from the shed. This includes any shelving, boxes, or other items that are inside.

Next, you need to disconnect any utilities that are connected to the shed. This includes electricity, water, and gas. Once all of the utilities are disconnected, you can start the demolition process.

Steps to demolish sheds

The first step in demolishing a shed is to remove the roof. This can be done by cutting through the rafters with a saw or by using a crowbar to pry the roof off. Once the roof is removed, you can move on to the walls.

To remove the walls of the shed, you can either use a saw or a sledgehammer. Start at the top of the wall and work your way down. Once the walls are down, you can remove the floor.

The final step in demolishing a shed is to remove the foundation. This can be done with a shovel or by using an excavator. Once the foundation is removed, you can fill in the hole with dirt or sand.

Now that you know how to demolish a shed, you can get started on your project. If you have any questions, be sure to call JunkdoctorsNJ for help.

complete guide to sheds shed removal nj

E-Waste Disposal: How to Safely Recycle Electronics

As the world progresses, we find new ways to make our lives easier. We get new gadgets, gizmos, and doo-dads to help us with our work, keep us entertained, and make our lives more comfortable. But as technology advances, we end up with more and more electronic waste, or e-waste.

E-waste is any broken or unwanted electrical or electronic device. This can include phones, laptops, computers, TVs, printers, and more. And as our reliance on electronics grows, so does the amount of e-waste we create.

In 2016, the world generated a whopping 44.7 million metric tons of e-waste. And only about 20% of that was properly recycled. The rest was either thrown away in landfills or incinerated.

This is a problem because e-waste is full of toxic chemicals that can leach into the ground and water, polluting the environment. And when burned, these chemicals are released into the air, where they can cause respiratory problems and other health issues.

So what can you do to help reduce the amount of e-waste? The first step is to recycle your old electronics properly.

There are a few different ways to recycle your e-waste. You can:

  1. Donate your old electronics to a charity or nonprofit organization.
  2. Sell or trade in your old electronics for a new one.
  3. Bring your old electronics to a certified e-waste recycling center.
  4. Mail in your old electronics to a recycling company.
  5. Use a local e-waste pick-up service.

Each option has its own benefits and drawbacks, so it’s important to do some research to find the best solution for you.

Once you’ve decided how you’re going to recycle your e-waste, the next step is to make sure you do it safely.

Here are a few tips to help you recycle your e-waste safely:

  1. Remove all personal data from your devices.

Before you get rid of your old electronics, you need to make sure all your personal data is removed. This includes things like your photos, videos, contacts, and any other sensitive information.

There are a few different ways you can do this. You can either do a factory reset, which will erase all the data on your device. Or you can use a data-wiping program, which will overwrite your data with random numbers and letters.

  1. Take out the batteries.

Most electronics have batteries in them, and these need to be removed before recycling. Batteries can be recycled, but they need to be handled properly to avoid any accidents.

  1. Find a certified recycler.

Not all recycling centers are created equal. Some will recycle your electronics properly, while others will simply dump them in a landfill.

To make sure your electronics are recycled properly, find a certified e-waste recycler in your area. A certified recycler will follow all the proper procedures to ensure your electronics are recycled safely.

  1. Check with your municipality.

Some municipalities have their own e-waste recycling programs. These programs are usually free or low-cost, and they’re a great way to recycle your electronics safely.

  1. Get rid of packaging.

When you’re recycling your electronics, make sure to get rid of any packaging, including plastic bags, Styrofoam, and bubble wrap. These materials can’t be recycled and they’ll just end up in a landfill.

By following these tips, you can help reduce the amount of e-waste in the world and protect the environment. If you need help recycling your electronic waste, call Junk Doctors NJ 973-336-8083

e-waste disposal Recycling Services
E-waste Removal

Who Do I Call to Clear Out my House?

When you need to clear out your house, who do you call? You might be tempted to just rent a dumpster and do it yourself, but that’s not always the best solution. Depending on the amount of junk you have, and the condition of it, you might be better off calling a professional junk removal company.

One company you can trust is Junk Doctors NJ. They have been in business for over 4 years, and have a team of experienced and professional junk removal specialists. They will come to your home, assess the situation, and give you a free estimate. They will then work with you to schedule a time to come and take care of everything.

Junk Doctors NJ is licensed and insured, so you can rest assured that your property is in good hands. They will take care of all the heavy lifting and loading, so you don’t have to. They will also clean up any mess they make, so you don’t have to worry about that either.

Once they have removed all the junk from your home, they will recycle or donate anything that can be reused. This means that your junk will be put to good use, and you won’t have to feel guilty about throwing it away.

Who Do I Call to Clear Out my House?

If you need to clear out your house, and don’t want to deal with the hassle of doing it yourself, then call Junk Doctors NJ. They will take care of everything for you, so you can focus on more important things.

10 things you should get rid of during your attic cleanout

When it comes to home organization, one of the most neglected areas is usually the attic. We often think of it as a dumping ground for all the things we no longer need or use, but never actually take the time to clean it out. However, an attic cleanout is important for both the aesthetics of your home and the safety of your family.

Here are 10 things you should get rid of during your attic cleanout :

  1. Old clothes – If you have clothes that you haven’t worn in years, it’s time to get rid of them. Old clothes can take up a lot of space in your attic, so it’s best to get rid of them.
  2. Outdated furniture – Furniture that is outdated or no longer used can also take up a lot of space in your attic. Getting rid of old furniture will free up space so you can store other things in your attic.
  3. Boxes of old holiday decorations – If you have boxes of old holiday decorations, You can probably live without those old decorations, and they’ll just take up space in your attic.
  4. Old toys – If you have children, they probably have outgrown their old toys. Getting rid of old toys will free up space in your attic for other things.
  5. Old books – If you have books that you no longer read, it’s time to get rid of those items. Old books can take up a lot of space in your attic, it would be best to remove them.
  6. Outdated electronics – You can free up a lot of space in your attic by getting rid of old electronics.
  7. Old photo albums – If you have old photo albums, it’s time to get rid of them. Old photo albums can take up a lot of space in your attic, so it’s best to get rid of them.
  8. Boxes of old paperwork – If you have boxes of old paperwork, it’s time to declutter. Old paperwork can take up a lot of space in your attic, so it’s best to get rid of it.
  9. Old exercise equipment – If you have old exercise equipment, it’s time to get rid of it. Old exercise equipment can take up a lot of space in your attic, so it’s best to get rid of it.
  10. Anything else that you don’t need – If there are other things in your attic that you don’t need, it’s time to clean up and get rid of the clutter. Getting rid of anything that you don’t need will free up space in your attic.

As you clean out your attic, get rid of any items that are damaged, outdated, or no longer used. This will help declutter your space and make it more functional. If you need any help call JunkDoctorsNJ for an attic cleanout 973-336-8083.

attic cleanout

How to Properly Remove an Upright Piano

It’s no secret that pianos are big, bulky, and heavy. In fact, a grand piano can weigh upwards of 1,000 pounds! So when it comes time to move or remove an upright piano, it’s important to take the proper precautions to avoid damaging the instrument or injuring yourself.

Steps to Properly Remove an Upright Piano

The first step is to empty the piano of all its contents, including sheet music, books, and any other items that may be stored inside. Once the piano is empty, it’s time to start disassembling it. Begin by removing the lid, which is usually hinged on one side. If the piano has any pedals, they can also be removed at this time.

Next, take out the screws that hold the keyboard in place. The keyboard is usually the heaviest part of the piano, so it’s important to have someone help you lift it out and set it aside. Once the keyboard is removed, you should be able to see the strings inside the piano.

Using a screwdriver, carefully loosen the tension on the strings by turning the tuning pins. Be careful not to let the strings snap, as this could damage the piano. Once the tension is released, the strings can be carefully removed.

With the strings out of the way, the next step is to remove the soundboard. This is the large, flat panel that covers the back of the piano. It’s held in place by a series of braces, which need to be removed one at a time. Be careful not to damage the soundboard as you remove it.

Once the soundboard is removed, you should be able to see the piano’s action, which is the mechanism that strikes the strings to create sound. The action is held in place by a series of screws, which need to be removed. Be careful not to damage the action as you remove it.

With the action removed, the final step is to remove the piano’s case. This is the large, wooden frame that surrounds the piano. It’s held in place by a series of screws, which need to be removed. Be careful not to damage the case as you remove it.

Once the case is removed, the piano is ready to be moved. If you’re moving the piano yourself, be sure to use proper lifting techniques and have someone help you. If you’re hiring a professional to move the piano, be sure to let them know that it’s been properly disassembled and that all the parts are accounted for.

If you’re not moving the piano and instead are planning to dispose of it, be sure to contact your local waste management company to find out the best way to do so. In some cases, they’ll be able to come and pick up the piano for you.

how to remove an upright piano

And there you have it! With a little time and effort, you can easily remove an upright piano. Just be sure to take your time, use caution, and have someone help you if necessary. And if you’re not sure how to properly reassemble the piano, be sure to contact a professional.

Need help removing an upright piano? Contact Junk Doctors NJ today! We’re professional piano removal company who can safely and efficiently remove your piano, no matter how big or small it may be. We’ll even dispose of it for you, so you don’t have to worry about a thing! Give us a call today to get started.